Setting up Chap Modeling App in DHIS2
This document describes how to install the Modeling App in your DHIS2 instance.
Requirements:
DHIS2 version 2.39+
1 Setting up Chap-Core REST API
The Modeling App requires communication with an instance of the CHAP-Core REST-API. For using the Modeling App in a production environment, it’s recommended that the CHAP REST-API has been set up on a permanent server by a system admin.
🛈 Alternatively, you can follow the instructions on how to setup a CHAP REST-API locally using Docker.
Verify that you have access to the CHAP REST-API and that it’s running correctly, by visiting
<your-url-to-chap-server>/docs. A Swagger page (REST-API documentation) should display.🛈 If you’re running the REST-API as a local Docker container, verify by going to
http://localhost:8000/docs.
2 Install Modeling App
The modeling app is available in the DHIS2 app hub and can be installed from there.
3 Configure CHAP Core URL
Finally, the Modeling App needs to know which URL to use to communicate with the CHAP Core REST-API. By clicking “Edit CHAP Core URL” located at the right-side menu, a modal should display where you can configure this setting.
Set this value to <your-url-to-chap-server>.
🛈 If you’re running the REST-API as a local Docker container, this value should be set to
http://localhost:8000.
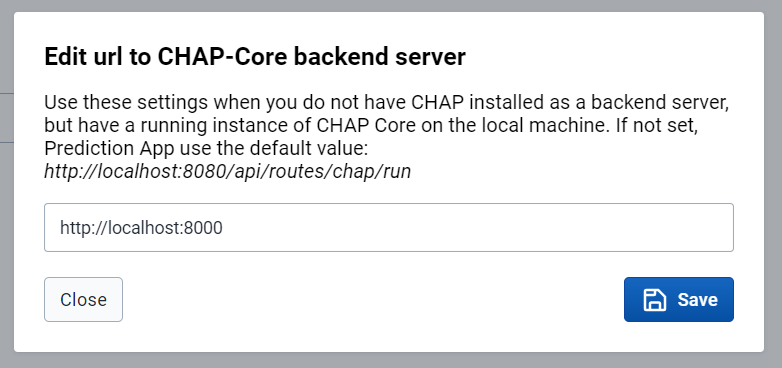
After clicking “Save”, the Modeling App should reload and start to fetch and send data to the provided URL.